


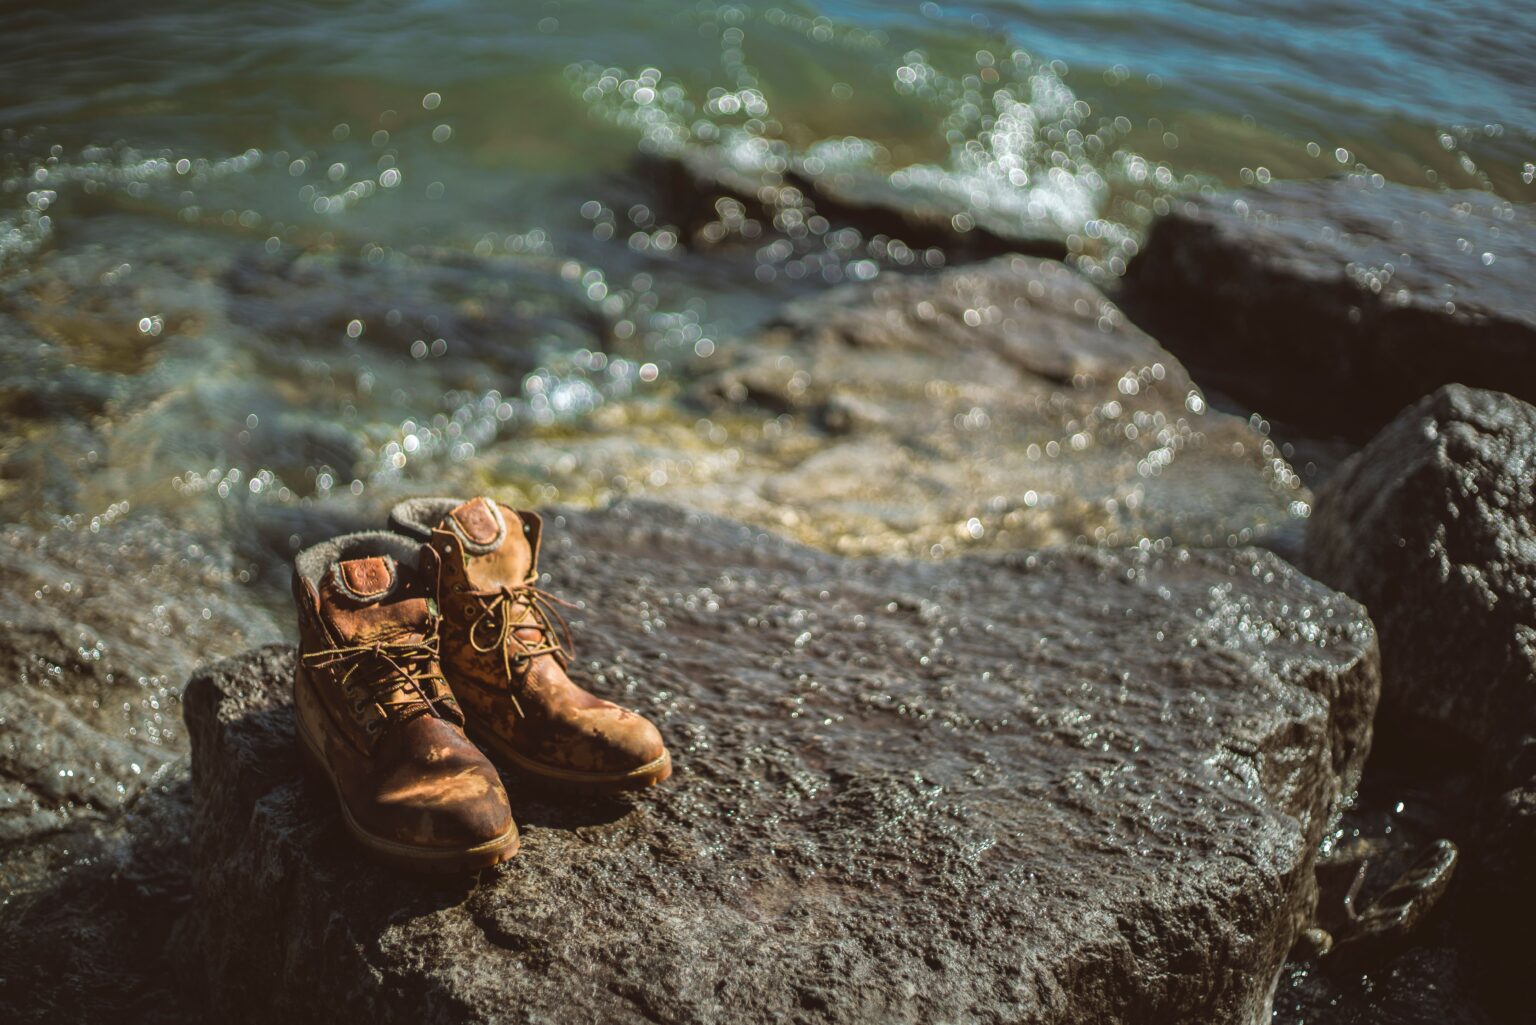
To clean hiking boots, knock off loose dirt, remove the laces and insoles, scrub the uppers with a soft brush and lukewarm water, use a dedicated boot cleaner rather than washing-up liquid or detergent, rinse thoroughly, then air dry at room temperature away from any heat source. Never put hiking boots in a washing machine, never dry them on a radiator or by a fire, and never use household detergents on them. Heat destroys the adhesives holding the sole on, and detergents strip the water-repellent coating.
The two things that kill boots early are drying them with heat and leaving them dirty. Both are entirely avoidable, and cleaning them properly takes about ten minutes.
What You Need
- A soft or medium brush, an old toothbrush for detail
- Lukewarm water
- A dedicated boot cleaner, sold by most outdoor brands
- A cloth
- Newspaper or a boot dryer that runs cool
- Water repellent treatment, if reproofing
Not needed, and actively harmful: washing-up liquid, laundry detergent, bleach, a washing machine, or hot water.
Step by Step
Step 1: Knock Off Loose Dirt
Bang the soles together outside and use a dry brush to remove loose mud and grit. Doing this dry is much easier than doing it wet.
Step 2: Remove Laces and Insoles
Take both out. Dirt collects underneath and around the eyelets, and insoles need to dry separately or the inside stays damp for days.
Wash laces separately in soapy water if they are grimy. Let insoles air dry.
Step 3: Clean the Outsole
Use a stiffer brush on the sole. Get the mud out from between the lugs, since packed mud reduces grip on your next hike.
A stick or old screwdriver helps for stubborn stones lodged in the tread.
Step 4: Clean the Uppers
Dampen the brush and work with lukewarm water and a dedicated boot cleaner.
- Leather: gentle circular motions with a soft brush
- Synthetic and mesh: a soft brush works fine, avoid scrubbing hard on mesh
- Suede and nubuck: use a suede brush and a cleaner made for suede. Do not soak these
Do not soak any boot fully unless the manufacturer says it is fine.
Step 5: Rinse
Rinse off all the cleaner with clean lukewarm water. Leftover cleaner residue can block breathability, particularly on waterproof membranes.
Step 6: Dry Properly
This is the step where boots get ruined.
Do:
- Dry at room temperature, in a well-ventilated spot
- Stuff loosely with newspaper to absorb moisture from inside, changing it once or twice
- Leave insoles out and laces loosened
- Allow 24 to 48 hours
Do not:
- Put them on a radiator, near a heater, by a fire, or in an airing cupboard
- Leave them in direct sunlight
- Use a hairdryer or hot boot dryer
Why heat is the problem: the sole is glued to the upper. Heat softens and degrades that adhesive, which is the single most common cause of soles separating. Heat also cracks leather and damages waterproof membranes. Slow drying is not fussiness, it is the whole point.
Caring for Leather Boots
Full leather boots need conditioning as well as cleaning.
- Apply a leather conditioner or wax while the boots are slightly damp, after cleaning
- Do not over-condition. Too much softens leather and reduces support
- Condition when the leather looks dry or feels stiff, not on a fixed schedule
Note that heavy waxes can reduce breathability, so on a boot with a waterproof membrane, use a product designed for that construction.
When to Reproof the Waterproofing
The outer water-repellent coating fails long before the internal membrane does.
The test: sprinkle water on the clean, dry boot. If it beads up and rolls off, the coating is fine. If it soaks in and darkens the material, it needs reproofing.
How:
- Clean the boots first. Reproofing over dirt seals the dirt in
- Apply the treatment while boots are slightly damp, if the product says so
- Use a spray for fabric and mesh, a wax or cream for full leather
- Let them dry fully at room temperature
Reproofing is cheap, takes minutes, and restores most of the performance people assume they have lost forever.
How Often Should You Clean Them?
| Situation | Cleaning needed |
| Muddy or wet hike | Clean the same day or next day |
| Dusty dry hike | Brush off, full clean occasionally |
| Salt water or beach | Rinse thoroughly, salt damages materials |
| Before storage | Always clean before storing |
| Light use on maintained trails | Every few hikes |
Never store boots dirty. Mud dries out leather, holds moisture against materials, and encourages mould. Cleaning before storage is the single most useful habit.
Storing Hiking Boots
- Clean and fully dry first
- Store somewhere cool, dry, and ventilated
- Not in a sealed plastic bag or box, which traps moisture
- Not in a damp garage, shed, or car boot
- Loosely stuff to help them hold shape
Common Mistakes
- Drying on a radiator. The most damaging thing you can do, and the most common.
- Using washing-up liquid or detergent. Strips water repellency and can damage membranes.
- Putting boots in the washing machine. Damages structure, adhesives, and membranes.
- Leaving insoles in to dry. The inside stays damp and starts to smell.
- Storing them dirty. Dried mud actively degrades materials.
- Reproofing over dirt. Seals the dirt in and works poorly.
Dealing With Smell
If boots smell, the cause is trapped moisture and bacteria.
- Remove and wash the insoles, or replace them
- Dry the boots completely, which usually solves it
- Baking soda left inside overnight absorbs odour
- Rotate between two pairs if you hike frequently, so each fully dries
- Wear wool socks, which resist odour far better than synthetics
FAQ
Can you put hiking boots in the washing machine? No. A washing machine can damage the boot’s structure, weaken the adhesives holding the sole on, and harm waterproof membranes. Clean them by hand with a brush, lukewarm water, and a dedicated boot cleaner instead.
How do you dry hiking boots quickly? Slowly is safer than quickly. Remove the insoles and laces, stuff the boots loosely with newspaper, and leave them at room temperature in a ventilated spot, changing the paper once or twice. Never use a radiator, fire, hairdryer, or direct sun, since heat destroys the glue holding the sole on.
What should you use to clean hiking boots? A soft brush, lukewarm water, and a dedicated boot cleaner from an outdoor brand. Avoid washing-up liquid, laundry detergent, and bleach, all of which strip the water-repellent coating and can damage waterproof membranes.
How often should you clean hiking boots? After any muddy or wet hike, and always before storing them. For dry, dusty hikes, brushing off the dirt is usually enough, with a full clean every few outings. Never store boots dirty, since dried mud degrades the materials.
How do you know when to reproof hiking boots? Sprinkle water on clean, dry boots. If it beads and rolls off, the coating is still working. If it soaks in and darkens the material, apply a water repellent treatment. Always clean the boots before reproofing.
Your Next Step
Go and check your boots right now with the water test: sprinkle a little water on them and see whether it beads or soaks in. That tells you in five seconds whether they need reproofing.
Then make one change to your routine: stop drying them anywhere warm. Room temperature and newspaper takes longer, but heat-damaged adhesive is the most common reason otherwise good boots fall apart.