


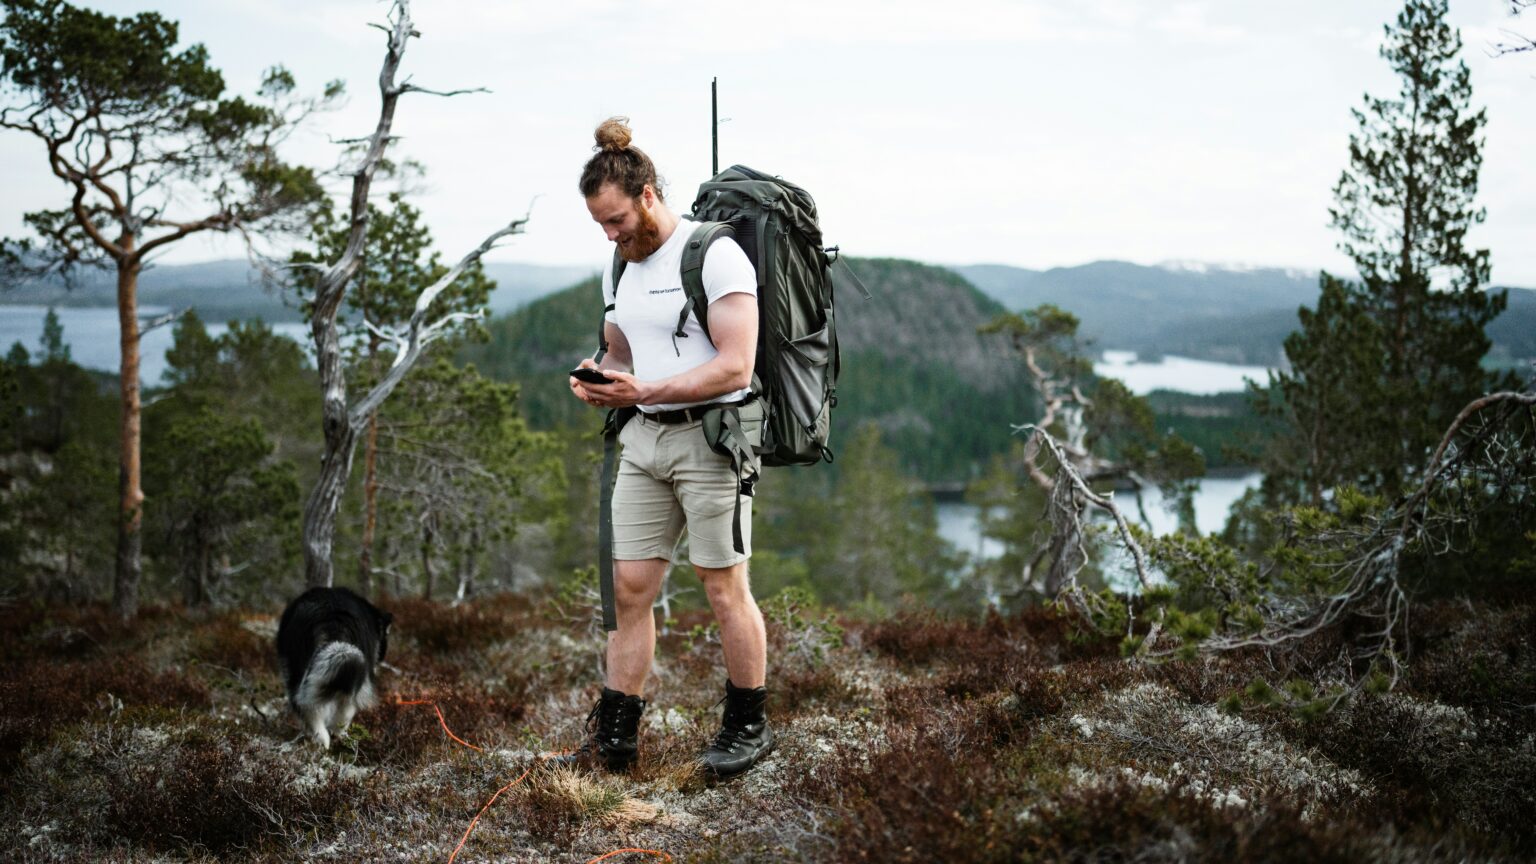
Using a GPS device for hiking can make your trip safer and easier to manage. It helps you know where you are and where you need to go. It can also help you find your way back if the trail is unclear or if you take a wrong turn.
A GPS device is useful for beginners and experienced hikers alike. It gives you a simple way to follow a route and keep track of your progress. When used the right way it can save time reduce stress and improve confidence on the trail.
What a GPS Device Does
A hiking GPS device shows your location on a map or on a simple screen. Some devices also let you follow saved routes mark important points and record your path. This is helpful when you hike in forests mountains or other places where trail signs may be hard to see.
A GPS device works best when you understand its basic functions. You do not need to learn every feature at once. Start with the simple tools that help you stay on course.
Prepare Before You Hike
Before you leave home make sure the device is charged and ready. Check the battery level and bring a spare power source if your hike will last a long time. A low battery can become a serious problem on a long trail.
Next load your route before you begin. Many hikers create a route at home and send it to the device. This helps you start the hike with a clear plan. If your device supports offline maps make sure the correct map is available before you head out.
It is also smart to mark key points in advance. Trailheads water sources junctions and safe exit points are all useful. These points can help you make better decisions if the trail becomes confusing.
Turn On the Device Correctly
Once you are at the trailhead turn on the GPS device and wait for it to get a good signal. This may take a little time especially if you are in a new area. Keep the device in an open place so it can connect better.
If your GPS has a compass or map screen check that everything is working. Make sure the route is visible and your position is on the map. Do not rush this step. A few extra minutes at the start can prevent trouble later.
Learn the Main Screens
Most hiking GPS devices have a few key screens that you will use often.
Map Screen
The map screen shows your location and the trail around you. It is helpful when you want to see where you are in relation to other paths or landmarks.
Compass Screen
The compass screen helps you follow a direction. It is useful when the trail is not clear or when you are moving between waypoints.
Track Screen
The track screen records the path you have already walked. This is useful if you want to review your route later or retrace your steps.
Trip Information Screen
This screen often shows distance speed elevation and time. It helps you understand how far you have gone and how much more you may need to walk.
Follow the Route During the Hike
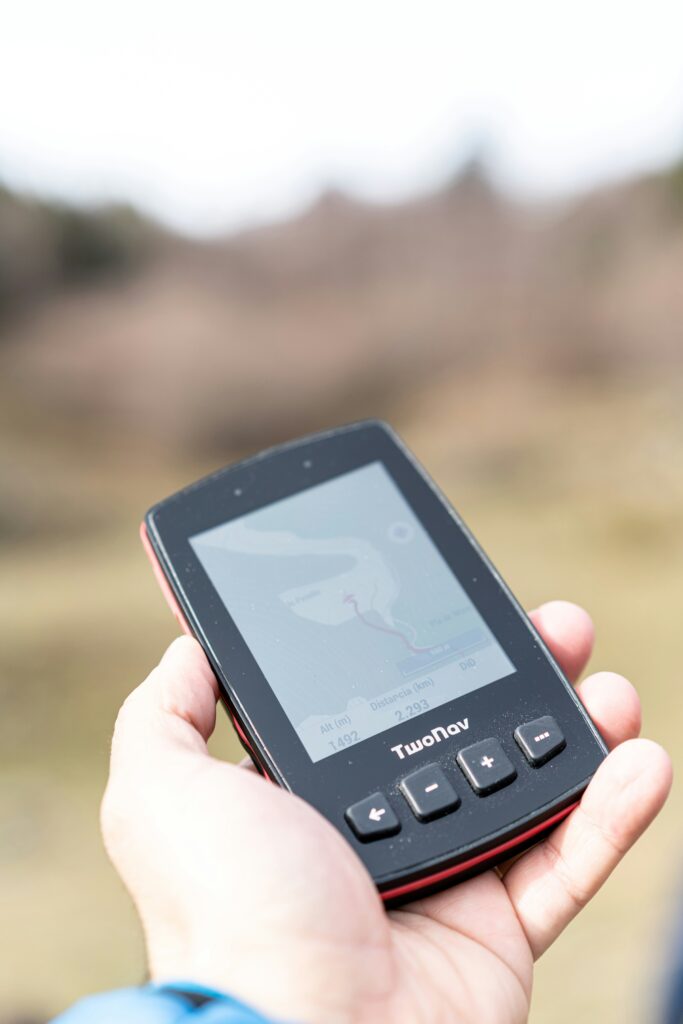
After the device finds your position select the route you want to follow. Then begin navigating. As you walk keep checking the map or compass screen to stay on the right path.
Do not wait until you are lost to look at the GPS. Check it often at trail turns junctions and open areas. This habit makes navigation much easier. It also helps you notice small mistakes before they become bigger problems.
If the trail changes or the device shows that you are off course stop and look around. Use nearby signs rocks trees or hills to understand your location. Then move back to the correct route carefully.
Mark Important Waypoints
Waypoints are saved points on the map. They are very useful on hiking trips. You can mark places like campsites water sources emergency exits or places where you may need to turn back.
Waypoints make it easier to understand your location if the trail becomes confusing. They also help if you hike the same area again in the future. A few well chosen waypoints can make navigation much simpler.
Keep the Device Easy to Reach
Do not hide your GPS device deep inside your backpack. It should be easy to reach while you are walking. If it is buried in your pack you may miss useful updates and waste time taking it out.
Many hikers carry the device in a hand strap belt clip or top pocket. This makes it easier to check without stopping for too long. It also helps the device stay connected to the sky.
Save Your Track After the Hike
At the end of the hike save your track if your device offers that option. The track is the path you walked from start to finish. Saving it can help you review your hike later and plan better next time.
Some hikers also use saved tracks to share routes with friends or compare different trails. This is a simple way to keep useful records of your outdoor trips.
Common Mistakes to Avoid
A few simple mistakes can make GPS use harder than it should be.
- Forgetting to charge the device.
- Not loading the map before the hike.
- Keeping the device inside the backpack.
- Ignoring the screen for too long.
- Relying only on GPS and not looking at the trail.
A GPS device is very helpful but it should not replace basic hiking awareness. You should still watch the trail and pay attention to landmarks.
GPS Safety Tips
Always carry a backup plan. Batteries can fail and signals can be weak in deep valleys or dense forests. A paper map and basic compass skills are still valuable.
It is also smart to tell someone your route before you leave. That way another person knows where you planned to go. This is good hiking practice even when you have modern gear.
Final Advice
A GPS device can make hiking safer and more enjoyable when used properly. Prepare your route before you go keep the device charged and check it often during the hike. Learn the main screens mark important points and save your track after the trip.
The more you practice the easier it becomes. With a little care and attention your GPS device can become one of the most useful tools in your hiking gear.